Final Project
Painting
For this project we were assigned to do an impressionistic painting, for mine I did a sunflower in a field with a sunset behind it. the first step was to paint the background and the grass , I then used transfer paper to lay down a guide to paint the sunflower itself. Lastly, I painted the sunflower and sketched and painted the stem.
Alebrijes
We worked with clay in this project and the goal was to incorporate three different animals into one and add colors and patterns to it. For my alebrije I incorporated the tentacles of an octopus, the beak of a squid, and the body and eyes of an owl. There were many struggles to overcome for this project such as time and worrying about the clay drying out, but in the end it was my favorite project. The first step was to come up with the animals and sketch it out, I then had to make two pinch pots and connect them using a coil. I then made the eyes and used a sharp tool to make the lines on the eyes, the next step was to make the tentacles and carefully attach them to the body, to make the "suction cups" on the tentacles I used the end of a pen. the last few steps to assemble the piece was to make the beak and cut the holes for the piggy bank. We fired the projects after letting them dry out for awhile, and then moved onto painting. I used acrylic pain for this and mainly used green, pink, blue, red, and orange and mixed them to make the others. I decided to do a galaxy like theme for the body to use as a pattern and fill the "suction cups" with green top go with the eyes. This was my favorite project of all that we've done so far and I would work with clay again.
¨Think Outside of the Box¨
For this project the goal was to create an image out of a magazine square that you were given in class and also to teach color blending using colored pencils. The first step was to find the matching colors to magazine piece, then you draw a square around the place that you want it to sit when you finish the project. After that you match up the places where the colors go and start blending them on your actual paper, draw out your design and color accordingly. In the end you should have a magazine piece that matches almost exactly to your drawing.
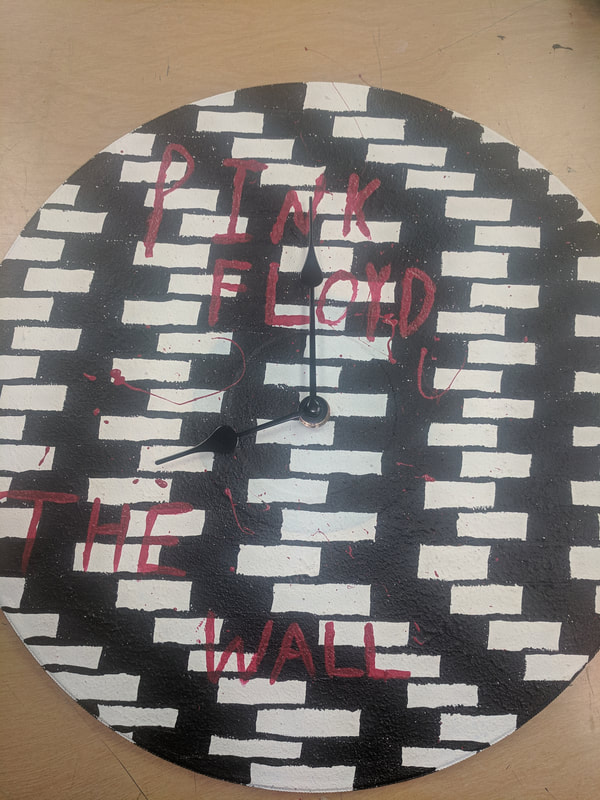
Final Art Project
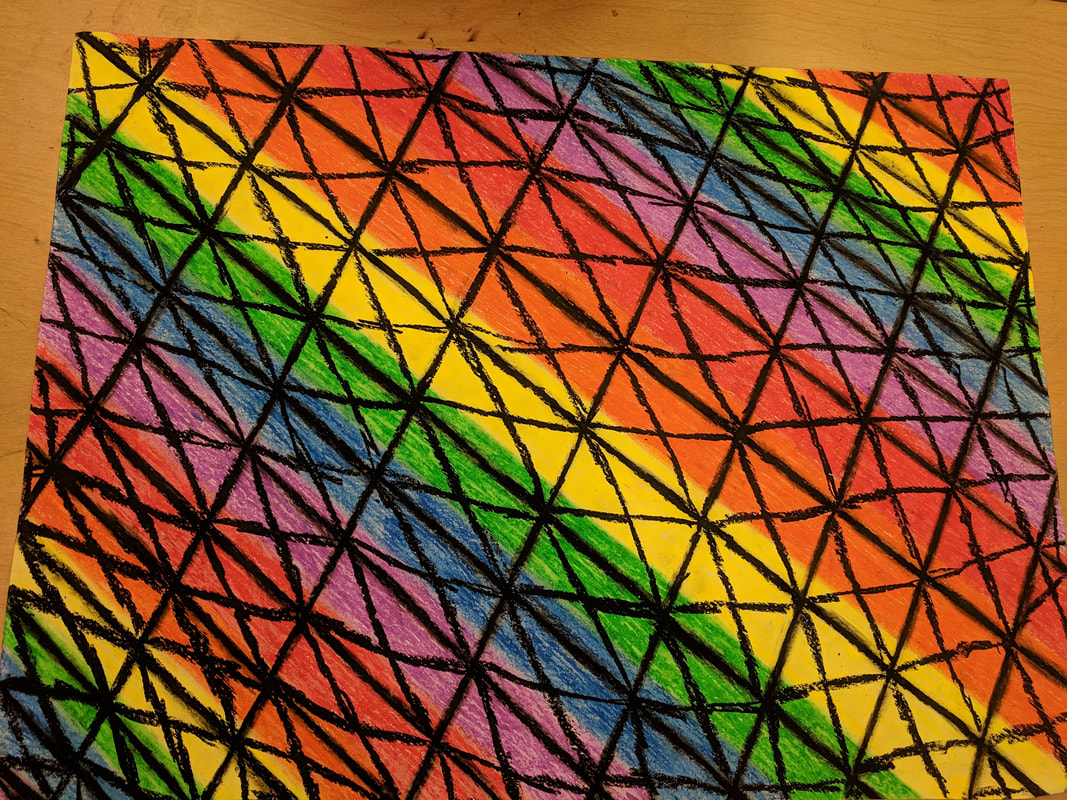
I used oil pastels to complete this project. I first used a ruler to draw the lines on where I would change the colors and blend them, then I started using the colors that were planned into certain spaces (following the colors of a rainbow) and blended each color out to make the transitions smooth. For the black lines I again used a ruler to draw straight lines across the page going both ways and connected the lines filling each block with and "X" and blended out the black.
Perspective Drawings
For this project we started by drawing out the floor plans for our house, we decided how many floors we wanted, what style, and what materials we wanted to use. We then used our floor plans to decide the shape of our house and started drawing everything to perspective. We the decided the outside elements and if we were using brick or wood or what.
Relief and Intaglio Prints
For this project we did two different kinds of prints, relief and intaglio. The first print me did was relief, we did this by using block paint and using a brayer to spread the paint over the surface, we then used a printing press to print it onto the paper. For intaglio we used acrylic paint and a paint brush to paint on our design, after that we used a piece of cardboard to scrape off the excess paint. After that we used the printing press and a piece of paper to print the design on. For my design I used string and toothpicks arranged into a triangle.
Self Portrait Drawings
For this project we were asked to draw a self portrait for our class assessment. For this we used a mirror and started drawing our face shape, we then started drawing the eyes after measuring out the face. We then did the eyebrows and measured out for the nose, we drew our nose and started shading it. After the nose we drew the mouth and chin. Lastly we drew the ears, hair, and shaded the face.
Frida Kahlo Drawings
For this project we drew a portrait of a face, the first step was to draw an oval and seperate the face into 4 sections, we then drew the eyes and added detail, drew the eyebrows, drew the nose and shaded and added highlights. We then separated the face to get the placement for the lips and drew them and added detail. Lastly we drew the neck ears and hair, to do the hair we separated the hair into sections and drew in the actual hair and added highlights and shading.
Sketchbook Binding
For this project we were assigned to make a sketchbook that we would be putting our weekly drawings in. The first step to making this book is making the cover, to make the cover you take two pieces of cardboard and glue them to a piece of fabric, after that you take the corners of fabric and glue them to the inside of your book to secure the cover. To make the Cover page you get a piece of scrapbook paper and glue it the the inside of your cover. After the whole outside and inside of your cover is finished you will fold your signatures, your signatures consist of five page folded in half, you will have five signatures. After they are all folded you will then take a push pin and make holes in your signatures and your cover that you will later use for sewing, after that you are ready to sew. To sew the signatures into the cover you will need a needle and some string, you then thread the needle and go through the holes in your first signature, you will then go through the cover. After you come through the cover you will go back through in the top hole and back through the signatures in the inside, you will then pull the thread through and tie the thread together to hold the signatures together. You will repeat with the following four more signatures until you have a full sketchbook.
